I’d like to put my thoughts in writing to gain a better understanding of what I’d like to do with Changabang. Let’s focus for now on standing rigging.

Introduction
Since 2018 (see below for why this year matters), I think we can consider the following:
- Preparation for the Route Du Rhum 2018: 1,500 miles.
- RdR itself: 3,500 miles.
- My preparation for the RTW: 1,000 miles.
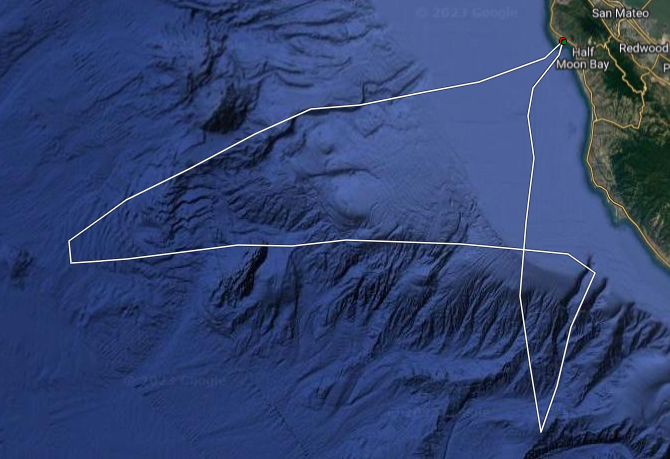
- My first attempt: 5,000 miles.
That’s 11,000 miles. For planning purposes we need to take the following into consideration:
- The 2024 Pacific Cup will probably amount to 2,200 miles one way, followed by a 3,000 miles return trip.
- Practice leading to the PacCup may amount to another 800 miles.
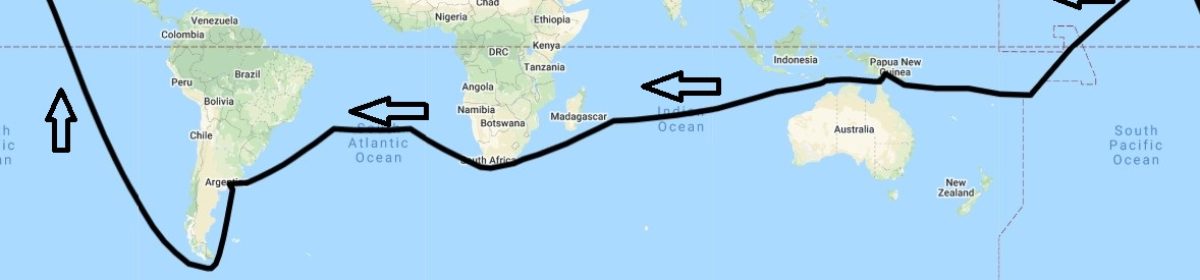
- A full second attempt at the RTW adventure would be about 30,000 miles.
This amounts to about 36,000 miles. 1 and 2 added together: 47,000 miles.
For perspective, the rigging may be taking the worst of the trip when going around Cape Horn and up the West Coast of South America (or getting there), 20,000 miles into the RTW. In other words, the rigging will already have about 37,000 miles.
The mast
The carbon mast was fully inspected in February 2018. Including replacing the shrouds and a few splices/ropes, the cost for that in France was a little over 5,000 Euro. Here in the Bay Area, it would be prohibitive as an operation. At this point, I am going to trust that the mast itself is sound. This includes spreaders, the sheave boxes, tangs, fittings, etc.
As a reference, the labor to replace the standing rigging on Double Espresso was over $5,000 in 2015. This difference right there may explain why France leads the world in short-handed sailing. Also, for reference, when I discussed the mast construction with the builder, he said it was built for durability/safety. It’s not a flimsy, very light mast.
When visually inspecting the mast in situ nothing shows signs of concern. In addition, I think that visual inspection only goes so far. Demasting and inspection in the shop would only go so far too. True non-destructive testing would be required.
In conclusion, trust and keep inspecting the mast. If anyone knows a place where dismasting and inspection can be done for a reasonable cost, let me know (and yes, I know that nobody reads this 😉 ).
I’ll say in passing that the same applies to the carbon bowsprit. I’m just going to trust that it won’t break.
The chainplates
There are no chainplates per se on Changabang. All rigging anchor points are built in the same way:
- A large stainless pin is where the standing rigging attaches.
- It’s held in place by a fiberglass pocket.
- That pocket is attached to the boat using unidirectional fiberglass cloth that distributes the load in the hull.
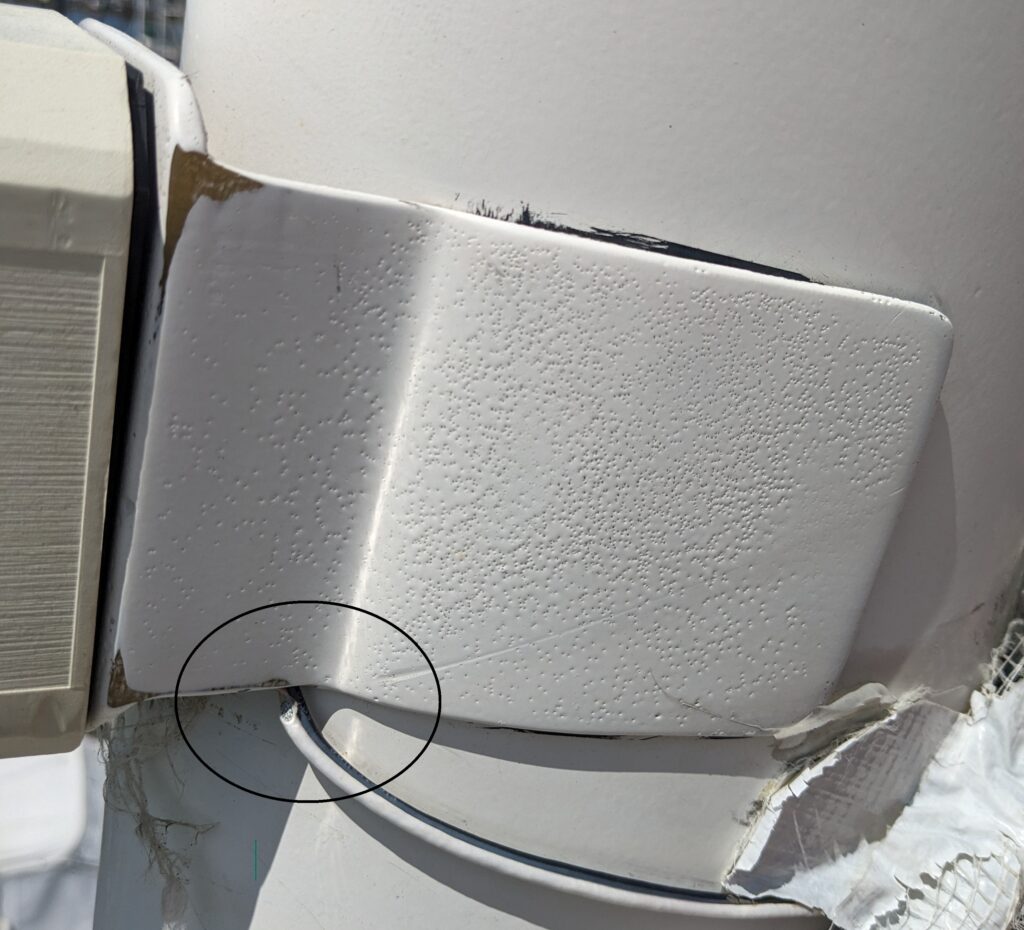
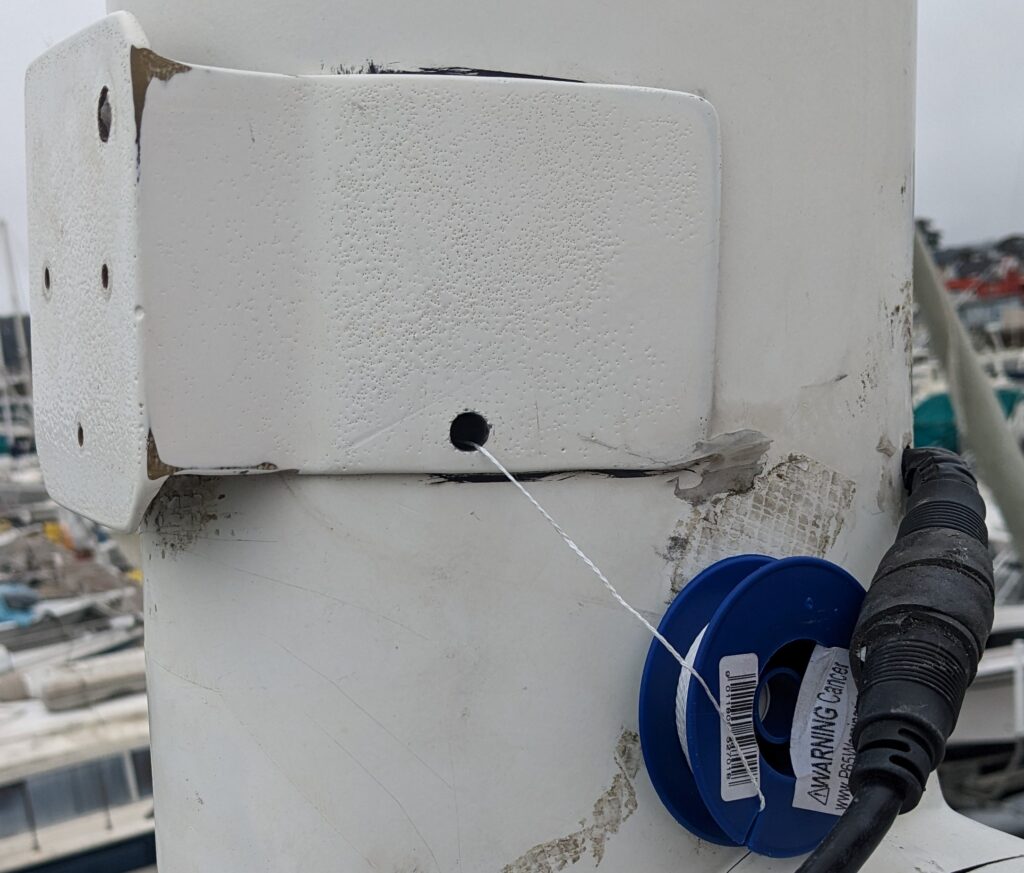
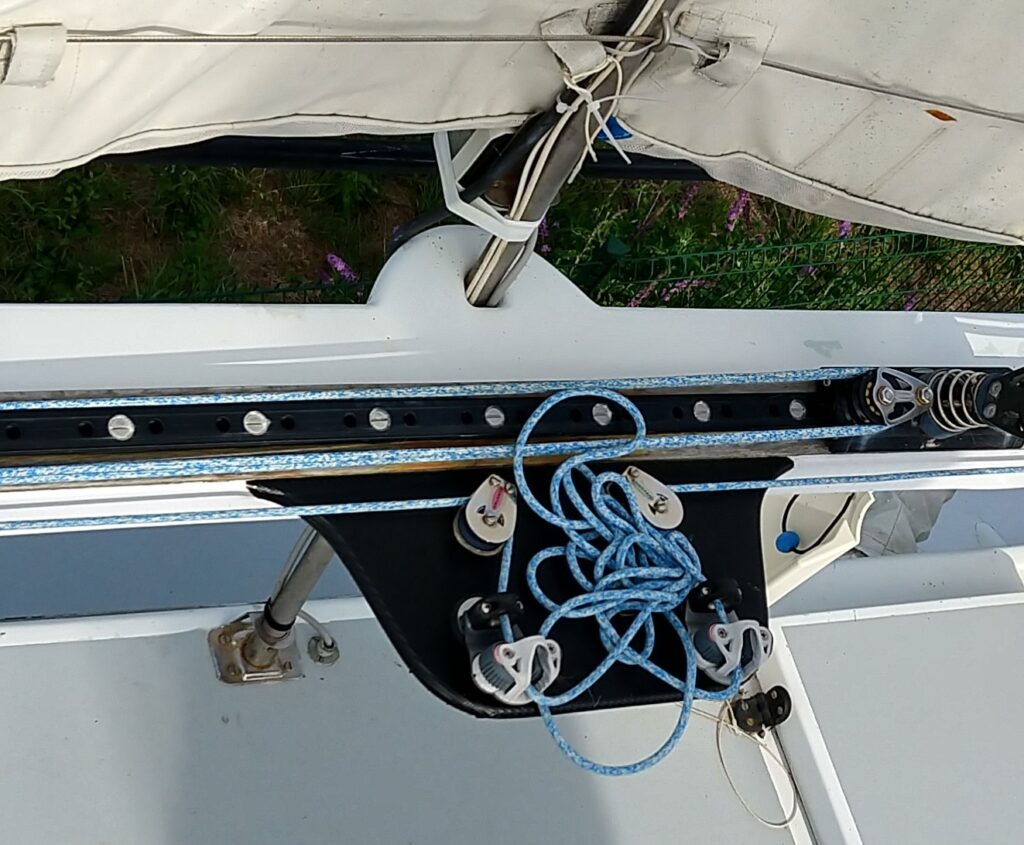
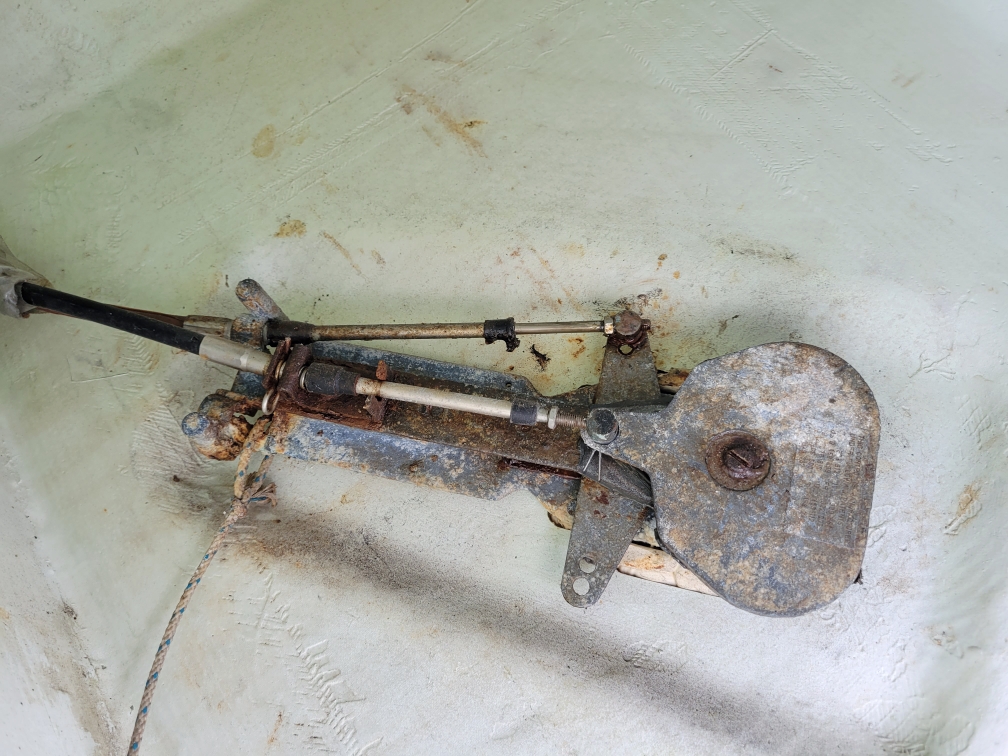
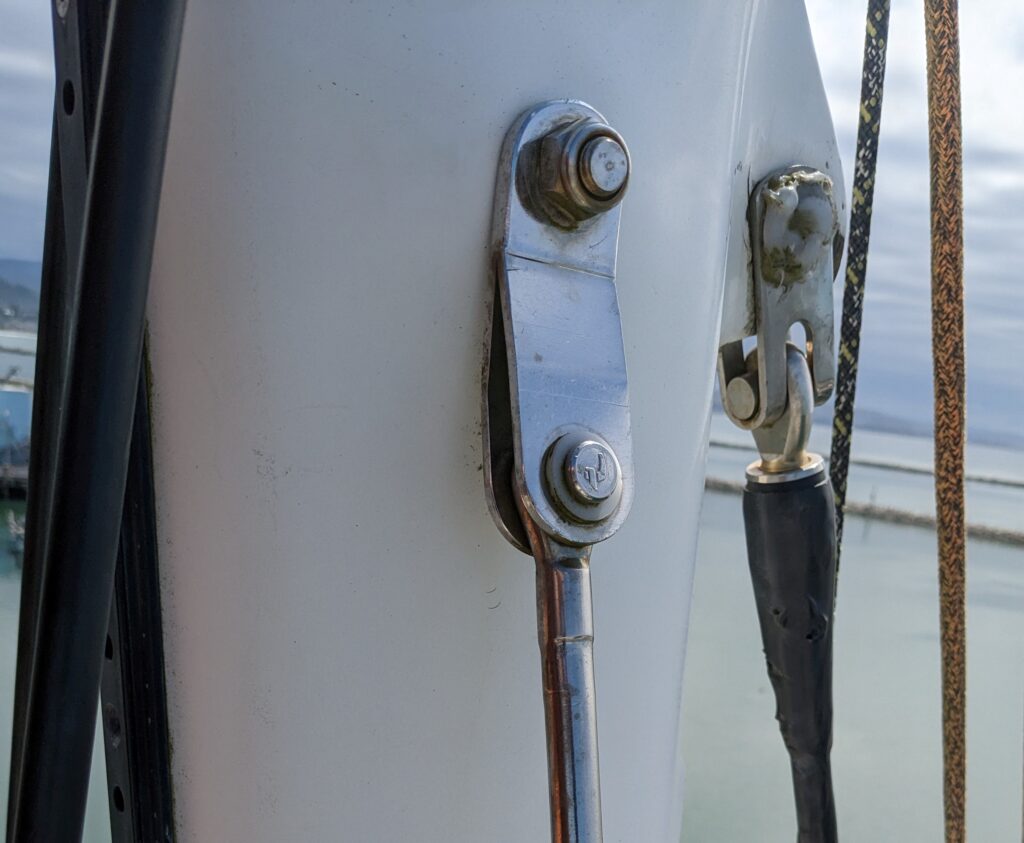
The picture below may show what this looks like in practice. What could go wrong here? To be honest, I’m not sure. Maybe the stainless steel pin would corrode so much that it would … disintegrate under the load. Or the fiberglass would break. All that is hard to imagine happening in the near future. So again, I’ll trust the chainplates and all anchor points for the standing rigging (shrouds, forestay, backstays).
Shrouds
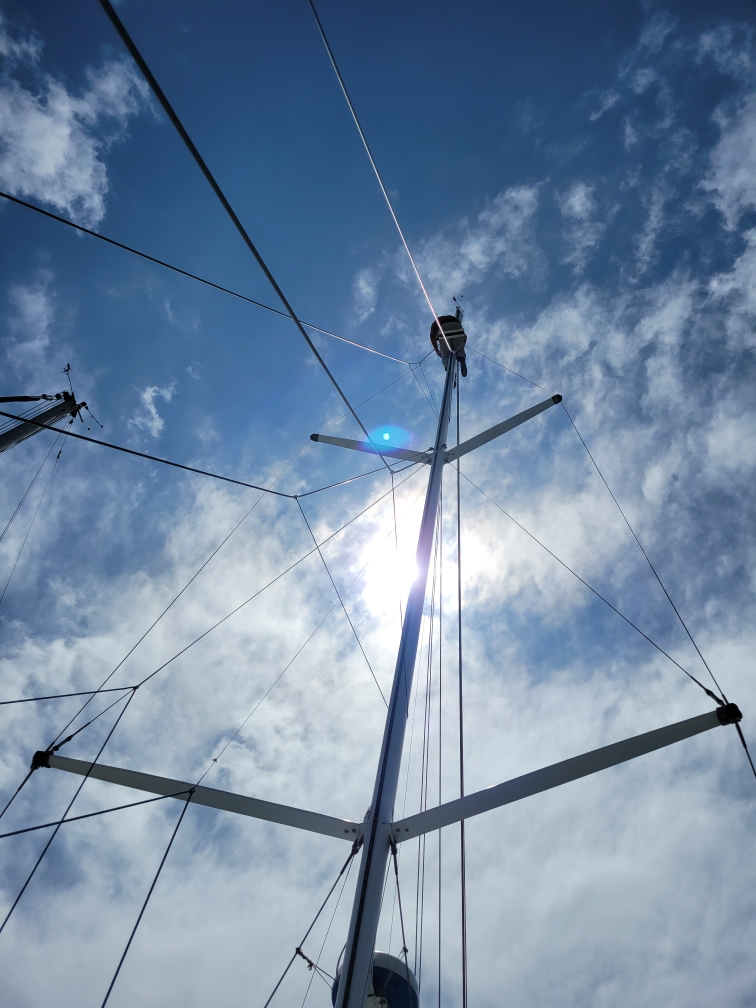
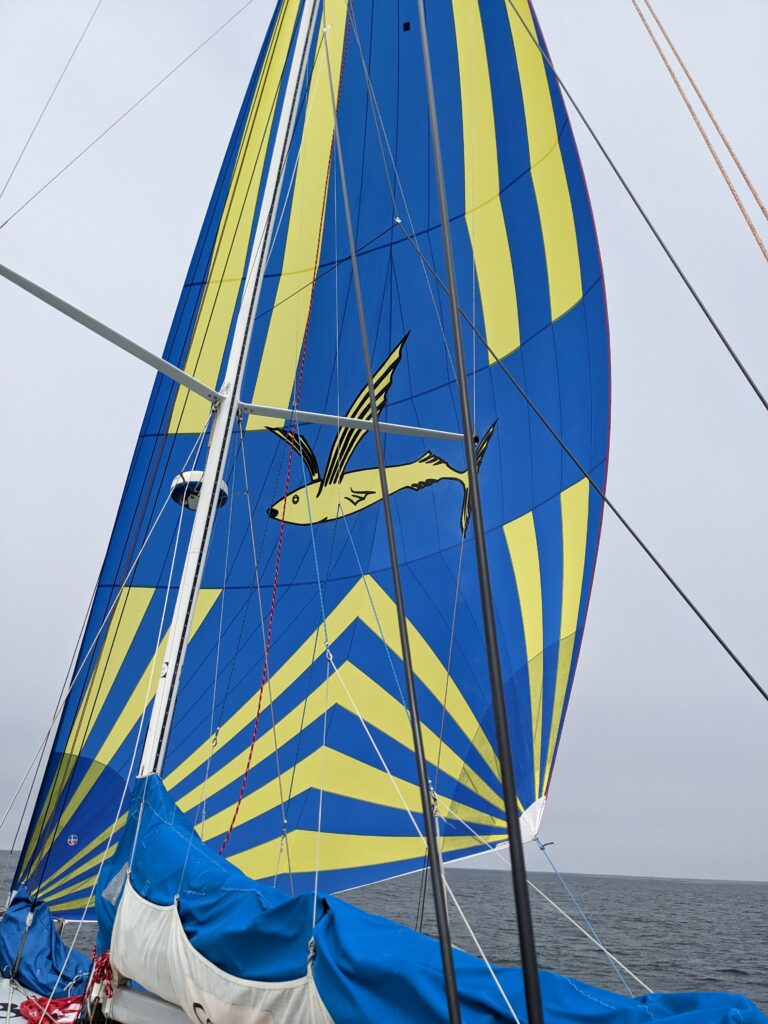
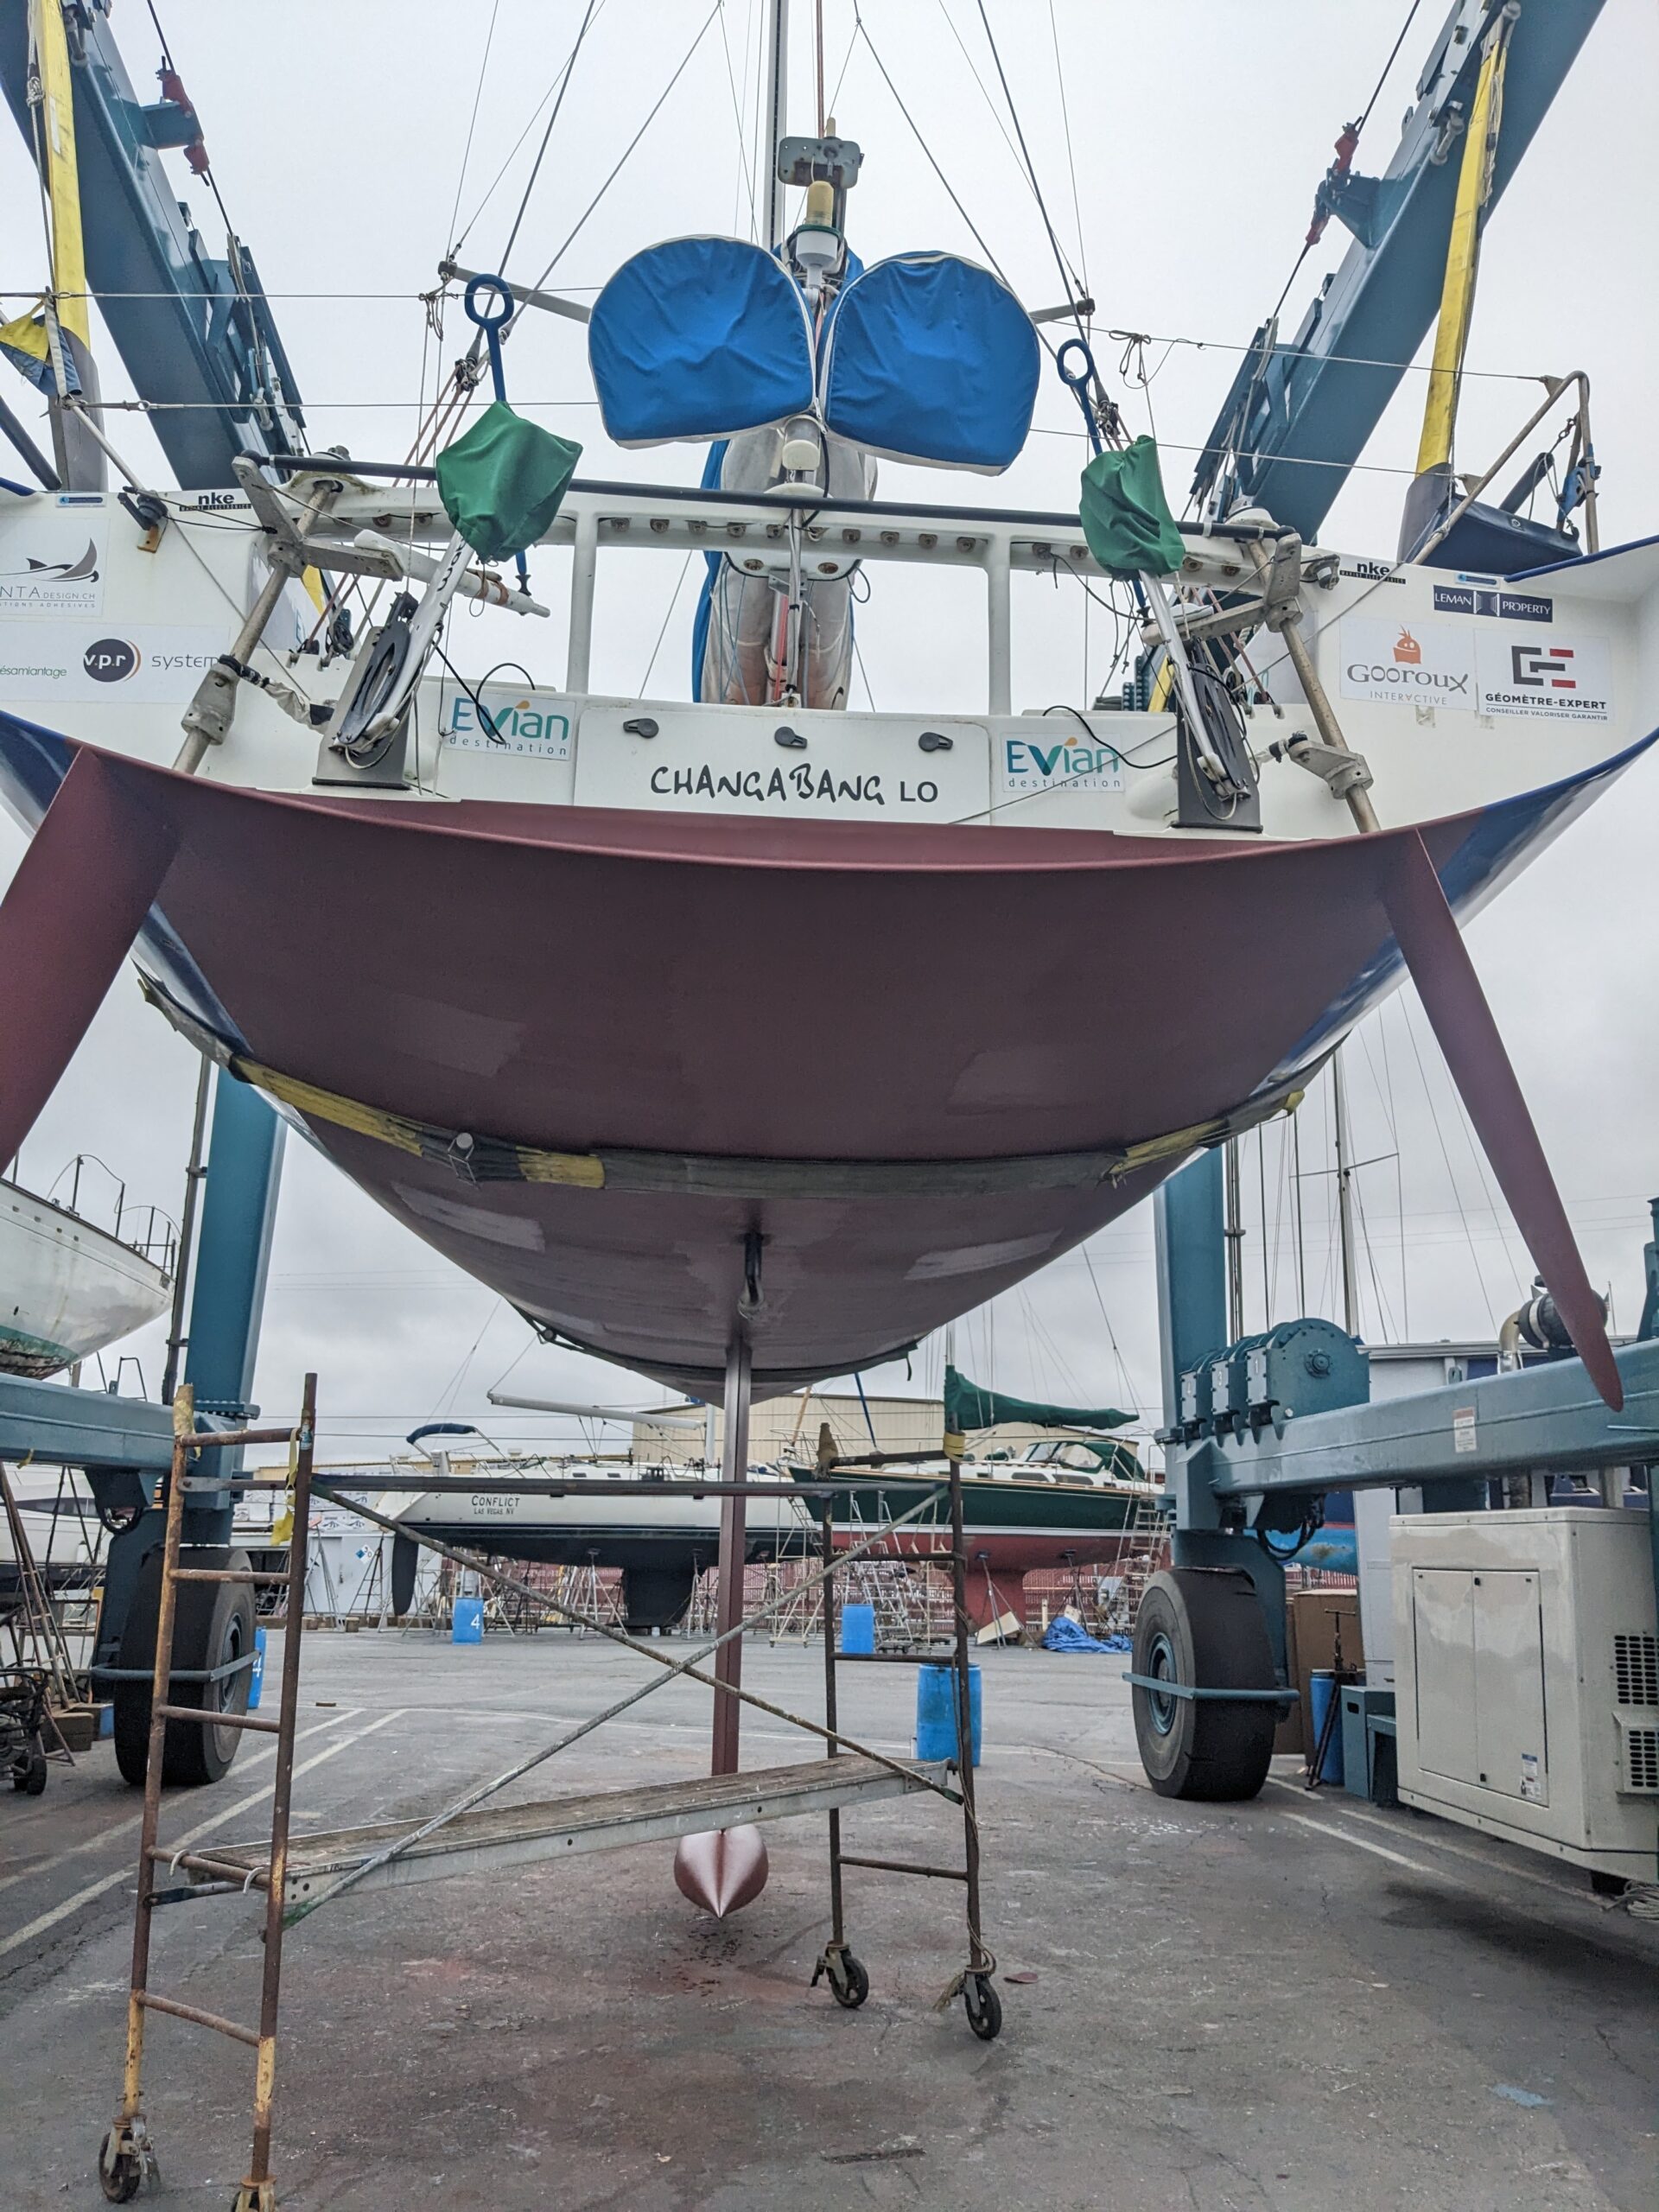
All the lateral rigging was replaced in 2018. This includes everything in between the horizontal pin seen above in the picture to the top of the mast as seen in the below picture: turnbuckles, articulations, dyform/monotoron cables.
NavTec’s guide seems to recommend a full inspection after 6 years or 40,000 miles. We’re hitting the 6-year mark in 2024. Depending on the conditions, NavTec says the cables can last between 5 and 20 years!
At the end of my RTW, the standing rigging would be 7.5 years old and have accumulated 47,000 miles. It’s a bit of a stretch compared to guidelines, but then the whole rigging seems oversized. Hence, here again, I think I’m going to trust that the shrouds will last.
Kevlar cables rigging
In addition to the shrouds, the following standing rigging contribute to the mast stability:
- The forestay on which the solent is hoisted.
- The inner forestay on which the staysail is hoisted.
- The upper running backstays.
- The lower running backstays.
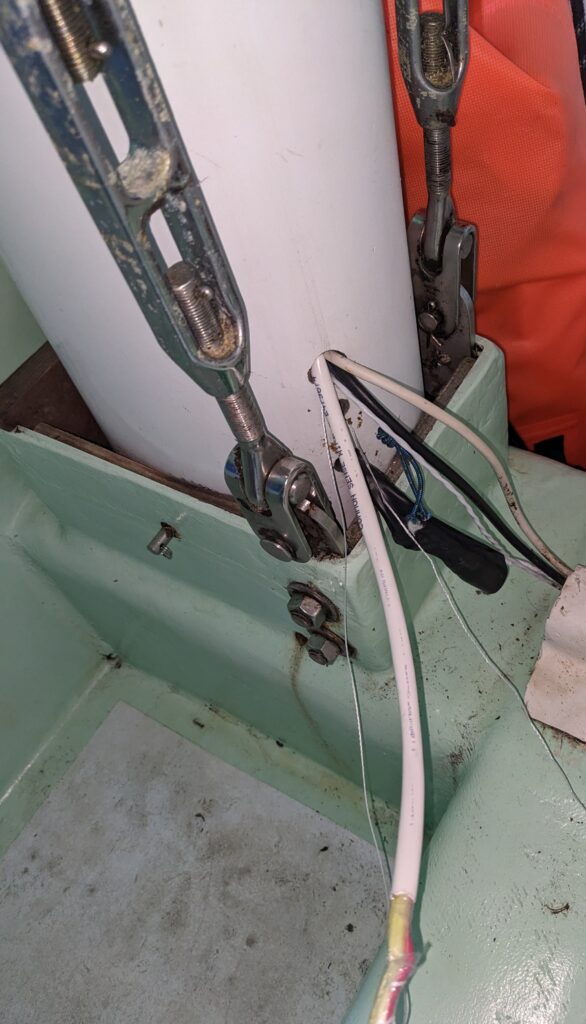
All of these are NavTec sleeved Kevlar cables, of different ages. It should be noted that for all upwind work, only the forestay, the shrouds, and the mainsheet are actively keeping the mast upright. The backstays come into play when we start to crack off the wind. Note in the first picture above that the lower backstays meet with the inner forestay and the upper with the forestay. What this means is that the spinnaker halyard is not counterbalanced by anything. In other words, it seems like the most likely failure would be to lose the masthead, which in and of itself is not that bad (to be fair, preparing this would be several days of work at sea, up the mast, so no simple feat) as long as we carry fractional spinnakers.
For the Kevlar cables NavTec seems to be much less optimistic and recommends changing the cables every 30,000 miles or 6 years (these are the upper limits). Considering that the forestay cable is damaged and is always loaded, we will certainly invest in replacing that. All the others look just fine when inspected visually. I truly struggle to understand what could go wrong with these cables, considering that neither the running backs nor the inner forestay get loaded much/often. In particular, I don’t feel it is necessary to replace the lower running backs, which are barely loaded when loaded!
Similarly, the inner forestay is only loaded hand-tight (using a purchase system). It’s really there to hoist the staysail (and then it’s loaded on the winch) and safety in case the forestay were to snap. If for some ungodly reason it was to break when in use, it would certainly not be good. The conditions warranting a staysail (or storm sail) would likely mean trouble once the cable breaks and the staysail falls overboard. But the mast would still be up and I would have to fly the staysail from the forestay. This doesn’t feel like a major loss. Is it worth saving $1,000 though?
The upper running backs are only loaded when big headsails (gennaker, code O, spinnaker) are flown. But still, they are not cranked on really hard.
In the final analysis, replacing the upper running backs and the staysail forestay feels more like purchasing peace of mind insurance. The total cost to replace the forestay, inner forestay, upper running backstays, re-using the existing cable fittings, is about $5,000.
The boom
I replaced the gooseneck and re-surfaced the carbon fitting where it attaches to the mast. So I think that’s good to go. The boom, of course, was repaired. I’m going to trust what I am being told, which is that it is now stronger (even though it’s not 100% straight). I am also going to trust that all the boom fittings are good to go. The parts that I have doubts about are the boom-end sheaves, which are showing their age, after almost 20 years under the sun. But I’ve struggled getting them out so that’s a future project. The cost here is going to be less than $500, hopefully.
Lashings & blocks
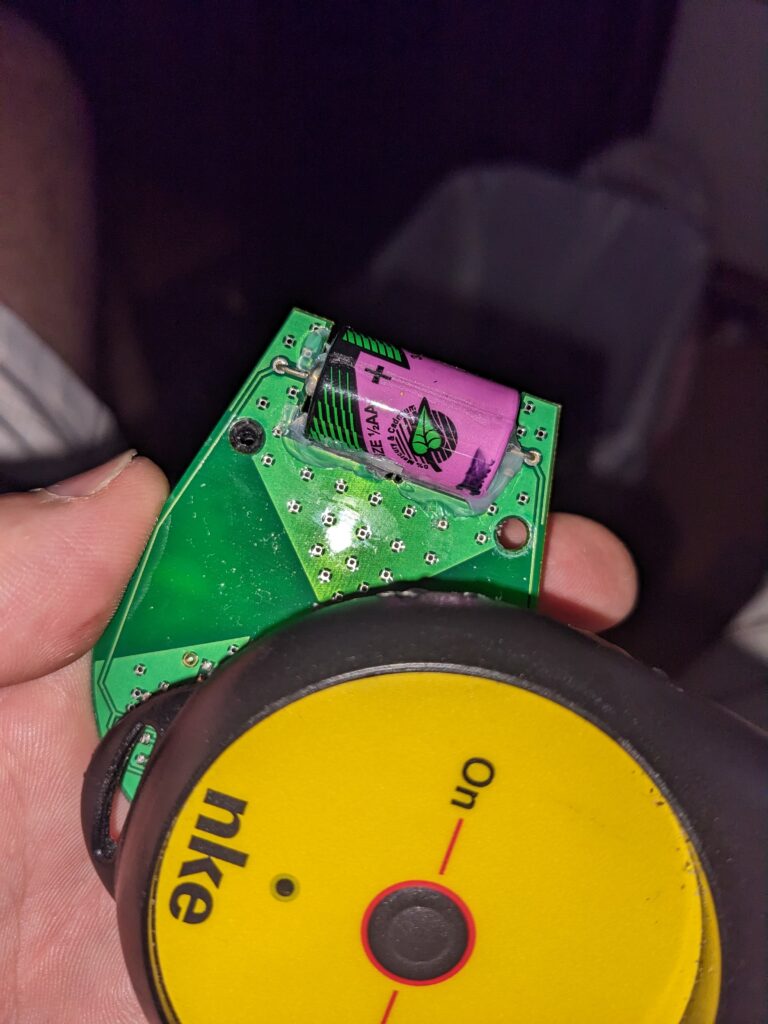
There is a fair amount of ofter components, which are structural and help keep the mast up, mainly lashings and blocks (for the purchase systems used for the running backs and the inner forestay). We replaced all of the lashings that were structural. I keep an eye on the blocks and they seem to hold up. It’s somewhat funny to think that we invest so much in standing rigging but when considering the full system it could all come down because a small pin in a block gives up. See this story (second picture).
Conclusion
I hope the above makes sense. When the budget is tight difficult choices need to be made. I know I’m in part kicking the can down the road as eventually some of the above will need to be done. I’m hoping that the boat will be back in France where things are more affordable.